
Welcome to the setup guide
Thanks for purchasing the Engaged framer website template and for your support!
The following documentation should provide you with all the necessary information for you to customise the template and make it your own.
Haven't bought the template yet? Buy it here.
If you're brand new to Framer, I recommend starting off with the Framer Fundamentals course to get familiar with the way the editor works and then coming back here after.
Editing the basics
Let's start out with the basics that will take you from a template to a customised wedding invitation in a few minutes.
Colors
Although the template is designed with a beautiful luxury color palette, you probably want to change the colors to match the theme of your wedding. The colors are named based on where they are used.
To edit the colors:
Click the "Assets" tab at the top of the left panel.
Scroll down to the "Styles" section.
Click on the folder named "Color".
Edit the "Highlight" color first to swap out the burgundy color with your wedding color
Optional: Play around with other colors, e.g. change "BG - light" from the current beige to a light grey for a more modern look.

Content & Images
Text
You can edit any block of text or image by double clicking it or by clicking it once and scrolling down to the "Content" or "Fill" field in the right panel.
Images
Images can be edited in a similar way, by clicking them in the editor and scrolling down to the "fill" field in the right panel. You can upload an image from your
Components
Text and images inside components (they're purple when you click them) will have clearly labeled variables in the right panel to edit them, as shown in the image below for the "Transport Type" component.
Components are used for repeated or complex blocks of content to make it easier to manage them in one place. You shouldn't need to edit their layouts, but if you do you can just click the "Edit component" below the variables in the right panel button to open up the component editor.

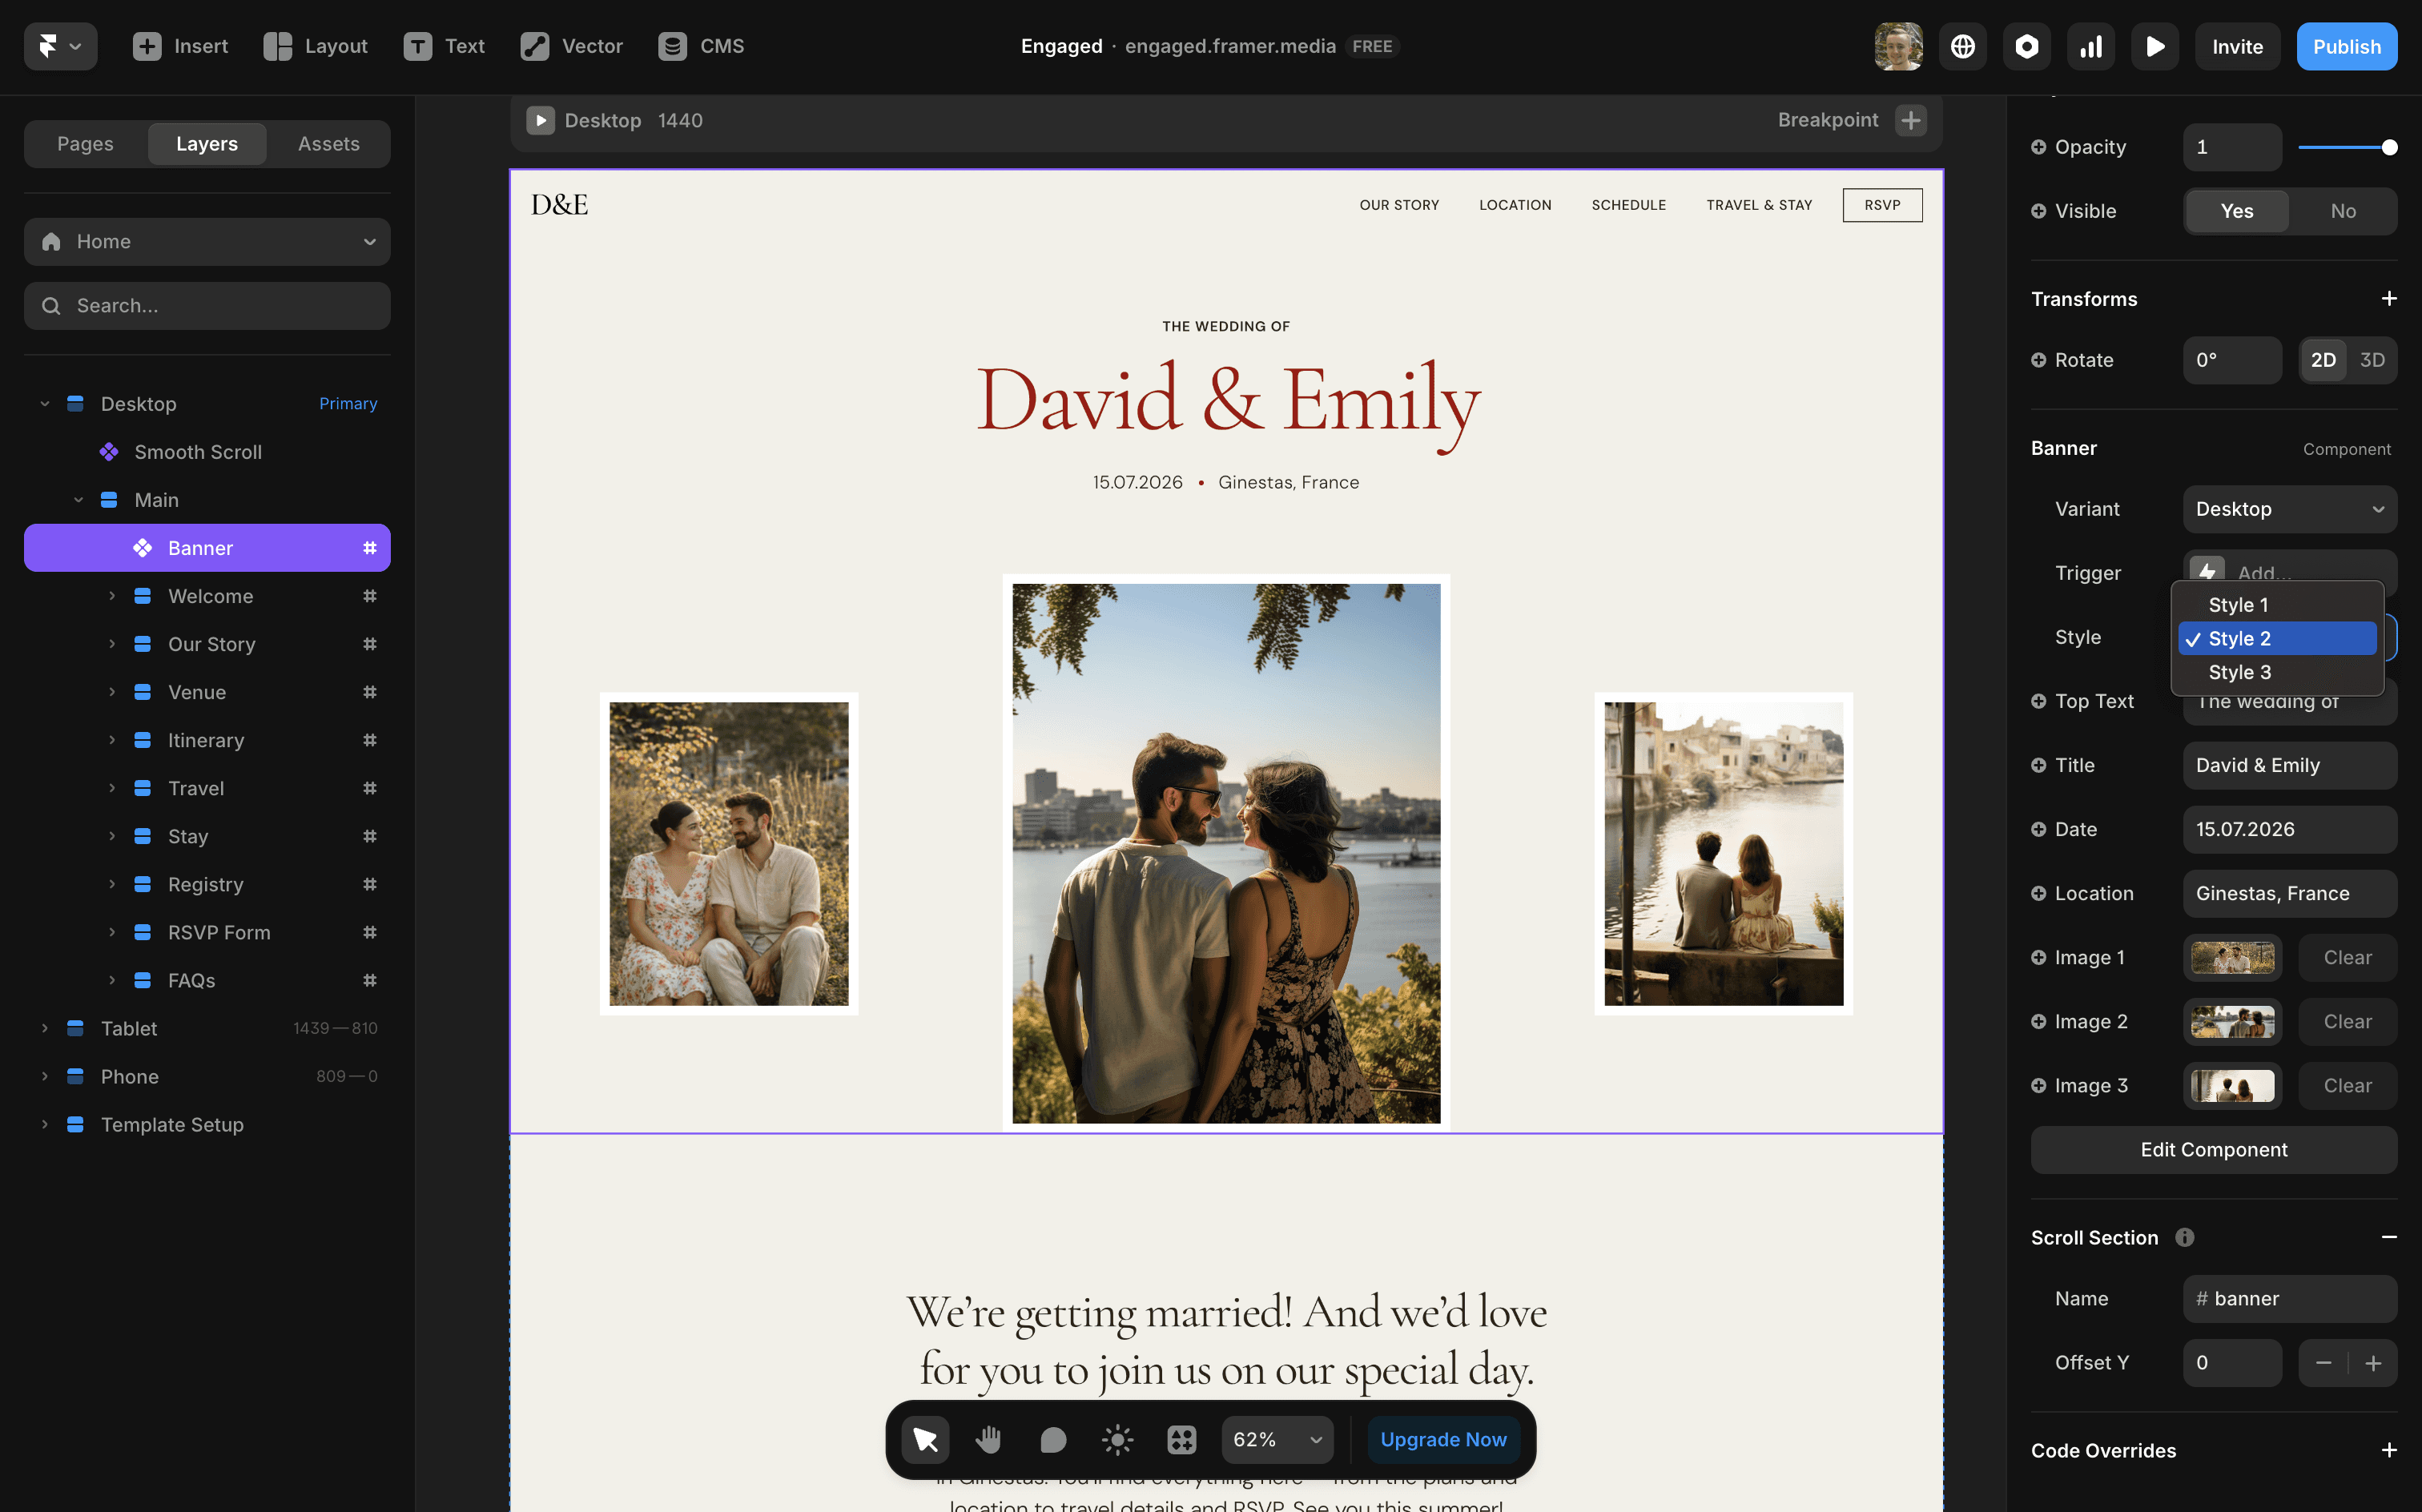
Top banner section
When you open your copy of the template, you'll notice the top banner section looks hidden. This is because the loading effect doesn't animate in the editor and you therefore see the "before" unanimated version.
The entire banner section is a component, so as described above all you have to do to edit it is enter your information in the right panel variables.
There are 3 different designs for this section to choose from to better suit your wedding. You can switch between them by changing the select value in the "Style" dropdown.
If for some reason you do want to edit the layout of the first banner style, you can temporarily set the two "Animation Cover" layers found inside the component to not be visible so that you can see the layers underneath. Don't forget to set them back to visible after you're finished editing for the animation to work!
RSVP Form
The RSVP form is already set up with all the fields you should need for your guests to confirm if they are coming to your wedding.
All you need to do is add a "Send To" email so that you can be notified when guests RSVP.
To do this, click into the "Contact Form" component and make sure you have the top layer selected. Scroll down in the right panel until you get to the "Form" section.
You'll see a field called "Send To". Click this and select "Email". This will open a popup where you can enter the email you want to receive the RSVPs, as well as a custom subject line so you can differentiate the emails in your inbox.
Make sure to verify your email and once you have, any time a guest fills out the form it'll send you an email with all of the information they enter.
You can also connect a Google Sheet alongside your email so that all of the form submissions are collected in one easy to manage place.

Going live
Once you've finished editing your copy of the template, you'll want to make it live so that you can send the link to your guests.
Luckily Framer makes this super easy. All you need to do is press the blue "Publish" button in the top right which will give make your site live on a randomly generated domain.
You can click the domain that appears in the "Publish" button popup to open your site in a new tab. Copy and paste it to send to your guests.
Setting up a domain
To make your wedding invitation website a bit more personal, I recommend using a custom domain.
Framer lets you claim a free subdomain which should be good enough, or you can connect a custom domain.
Free subdomain
Go to settings by clicking the cog icon top right, and navigate to the domains page. In the custom section, make sure "Get a free Framer subdomain" is selected and enter your preferred domain. I recommend "brideandgroom.framer.website", for example "davidandemily.framer.website". Click the blue tick and publish your website again. Now you can visit this domain to see your website.
Custom domain
If you want to connect a custom, select "Claim a free custom domain" or "Connect an existing domain" if you already own one. You'll need to pay for a Framer plan to use a custom domain, whereas a Framer subdomain is free to use. You can follow this tutorial to help set your custom domain up.
Making changes
If you need to make any changes to your website after you've make it live, you can head back to the editor and make any changes you need. You can preview them before updating the live domain by clicking the play icon in the top right.
Once you're ready to publish your changes, just hit the top right blue publish button again and your guests will see the changes next time they visit.


