Introduction
Thanks for purchasing the Formed framer website template and for your support!
The following documentation should provide you with all the necessary information for you to customise the template and make it your own.
Haven't bought the template yet? Buy it here.
The basics
This tutorial focuses on the more complicated bespoke areas of this template. If you're new to Framer or my templates, read through the basics tutorial which will help you get the template set up for your business as fast as possible.
Let's get started
Now that we've got the basics covered, let's go over editing the more complicated parts of this template.
Dropdown menu
The menu in this template is set up inside an overlay in the Header component. This may be slightly unconventional to you at first so to find where it's located do the following:
Click the "Assets" tab at the top of the left panel.
Click on the "Main" template layout in the "Templates" section.
Go back to the "Layers" tab at the top of the left panel.
Open the layers and find the layer named "Overlay" nested inside the "Header".
Click the "Overlay" layer to open the overlay view and see the menu layers inside the overlay.
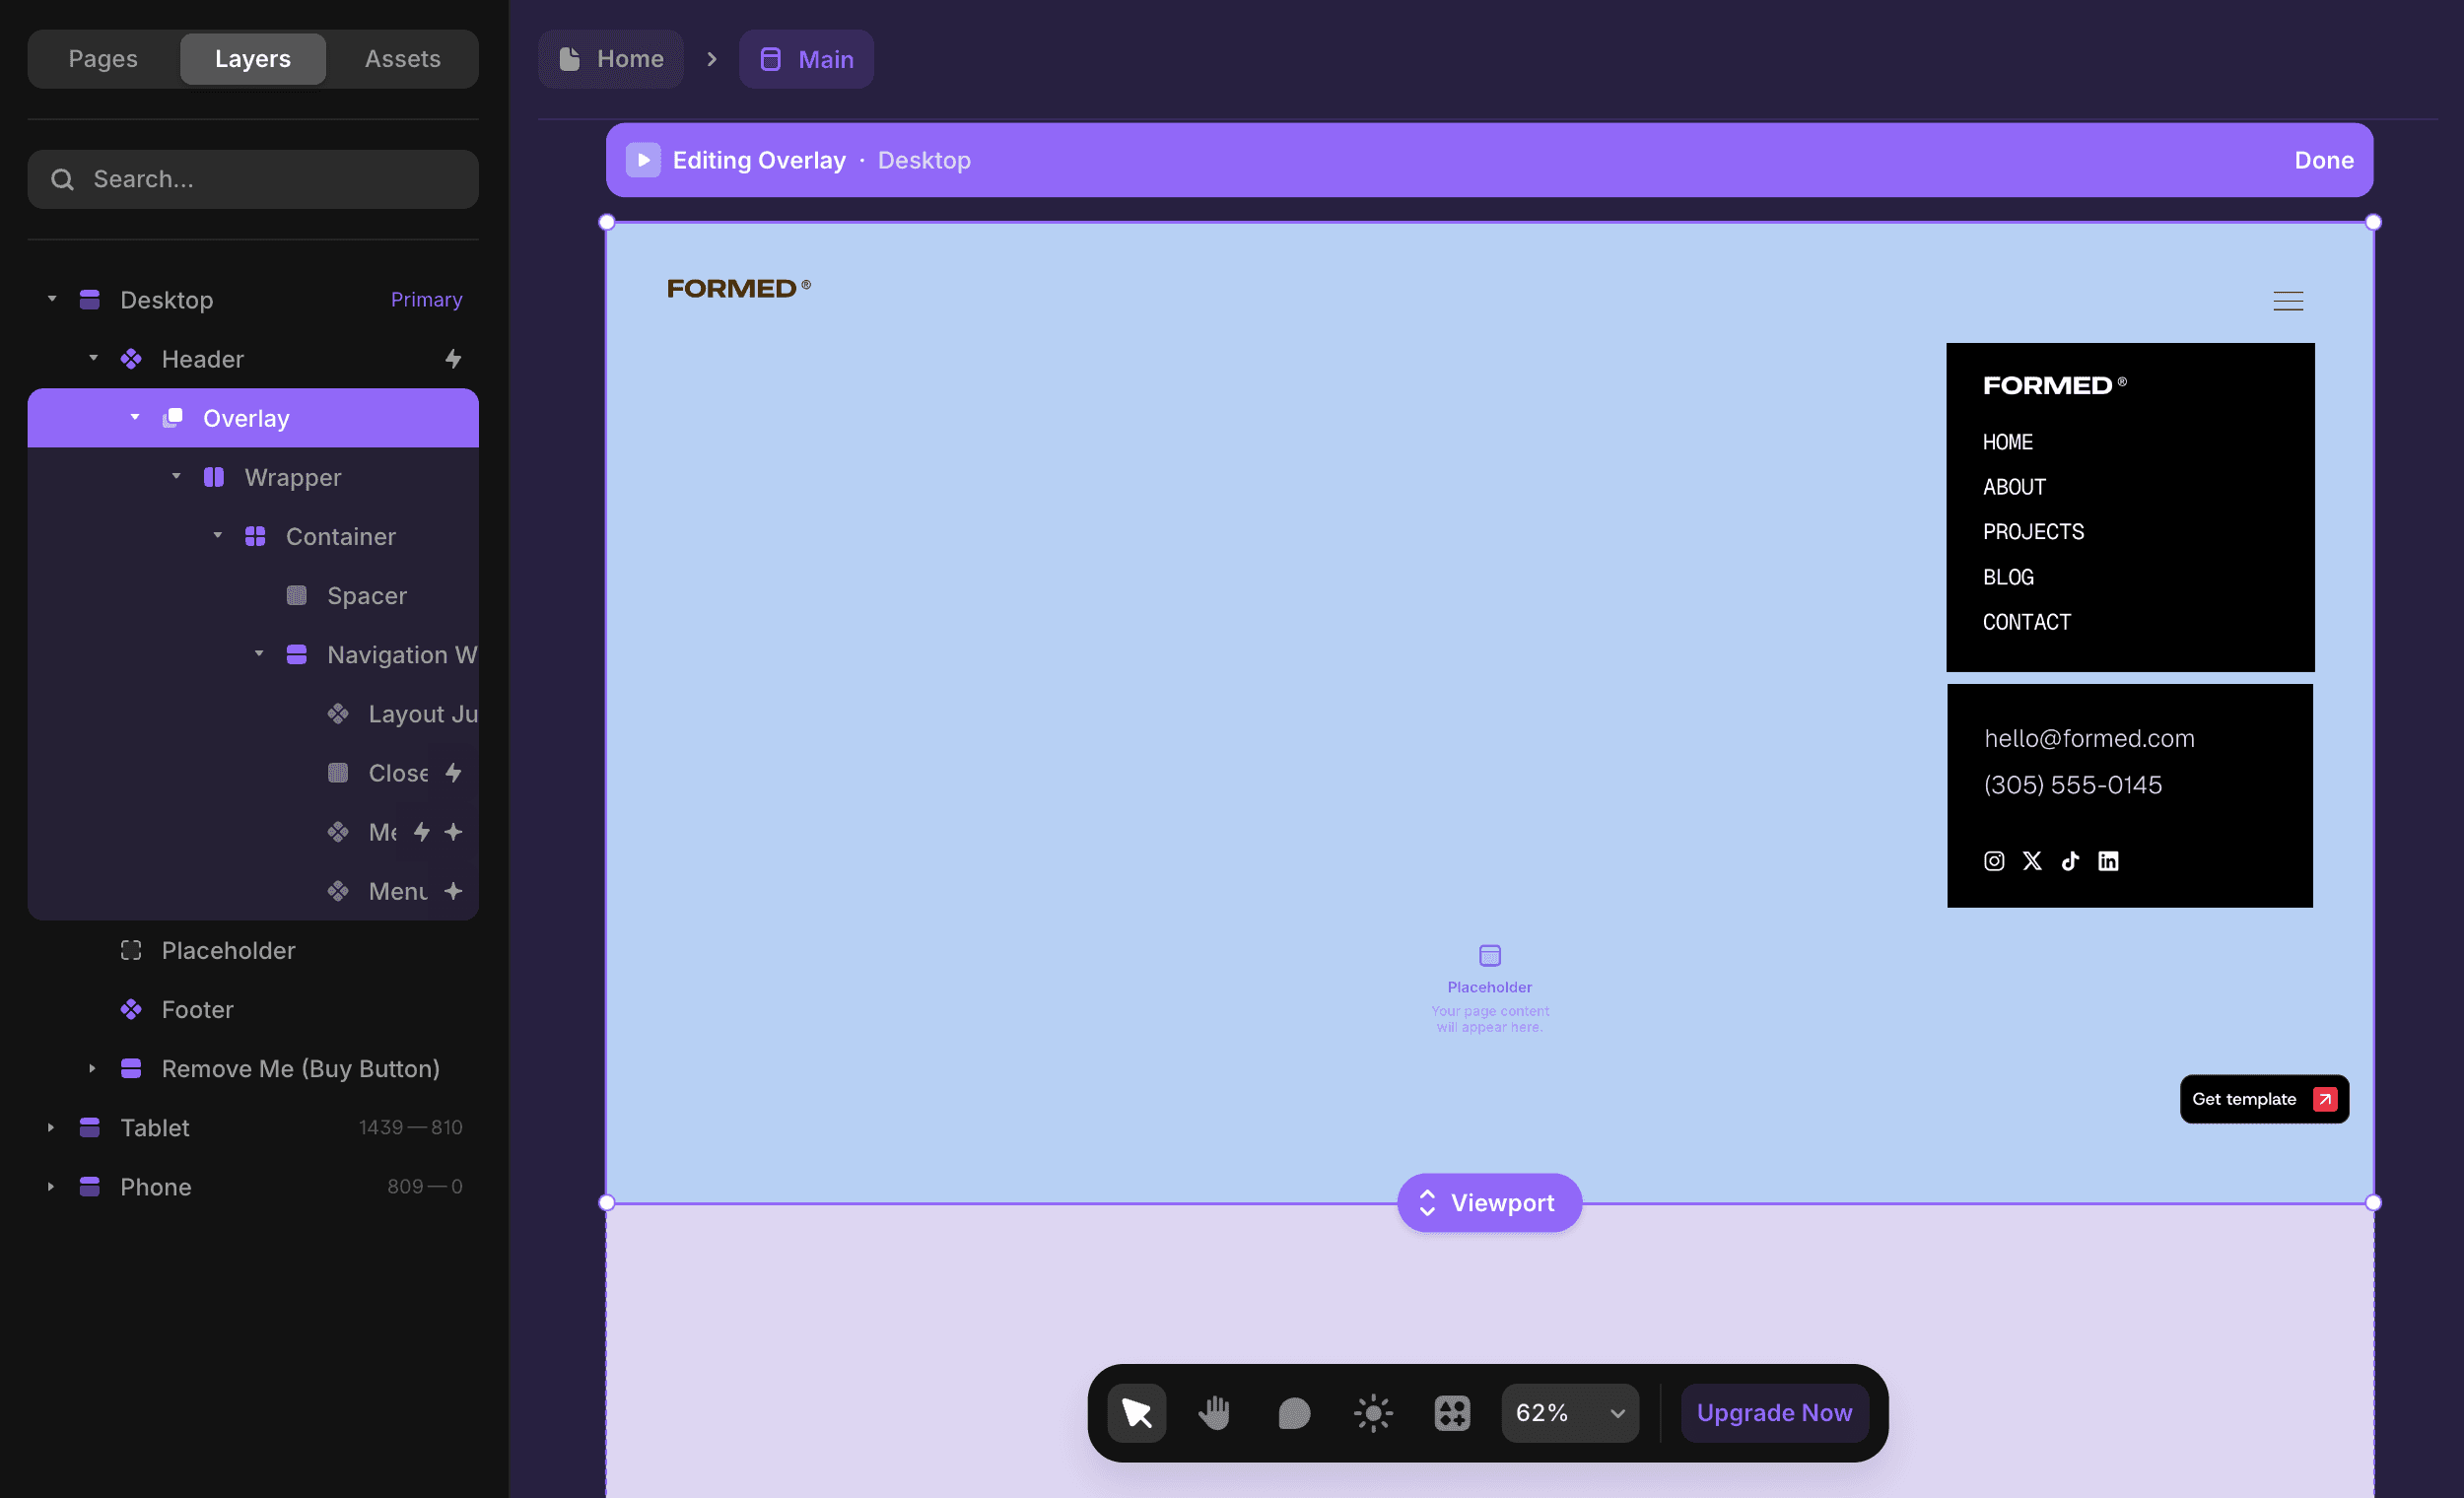
The good news is that the menu itself is split into components so you don't have to navigate to the overlay like that each time you want to make changes to the menu.
To edit the menu components do the following:
Click the "Assets" tab at the top of the left panel, croll down to the "Components" section, and open the "Navigation" folder.
Click on the "Menu" component to edit the top menu items, or the "Menu Bottom" component to edit the bottom block of the menu where the contact and social are.
Project cards
The project cards don't appear correctly in the backend like they do on the frontend due to the complex manner in which they are built and the animation works.
Luckily adding new project cards is simple, you just add projects to the CMS and they will automatically appear since the projects section and page use a CMS collection to display the cards.
If you do want to edit the appearance of the cards themselves, here is what you need to do:
Click the "Assets" tab at the top of the left panel, scroll down to the "Components" section, and open the "Section Elements" folder.
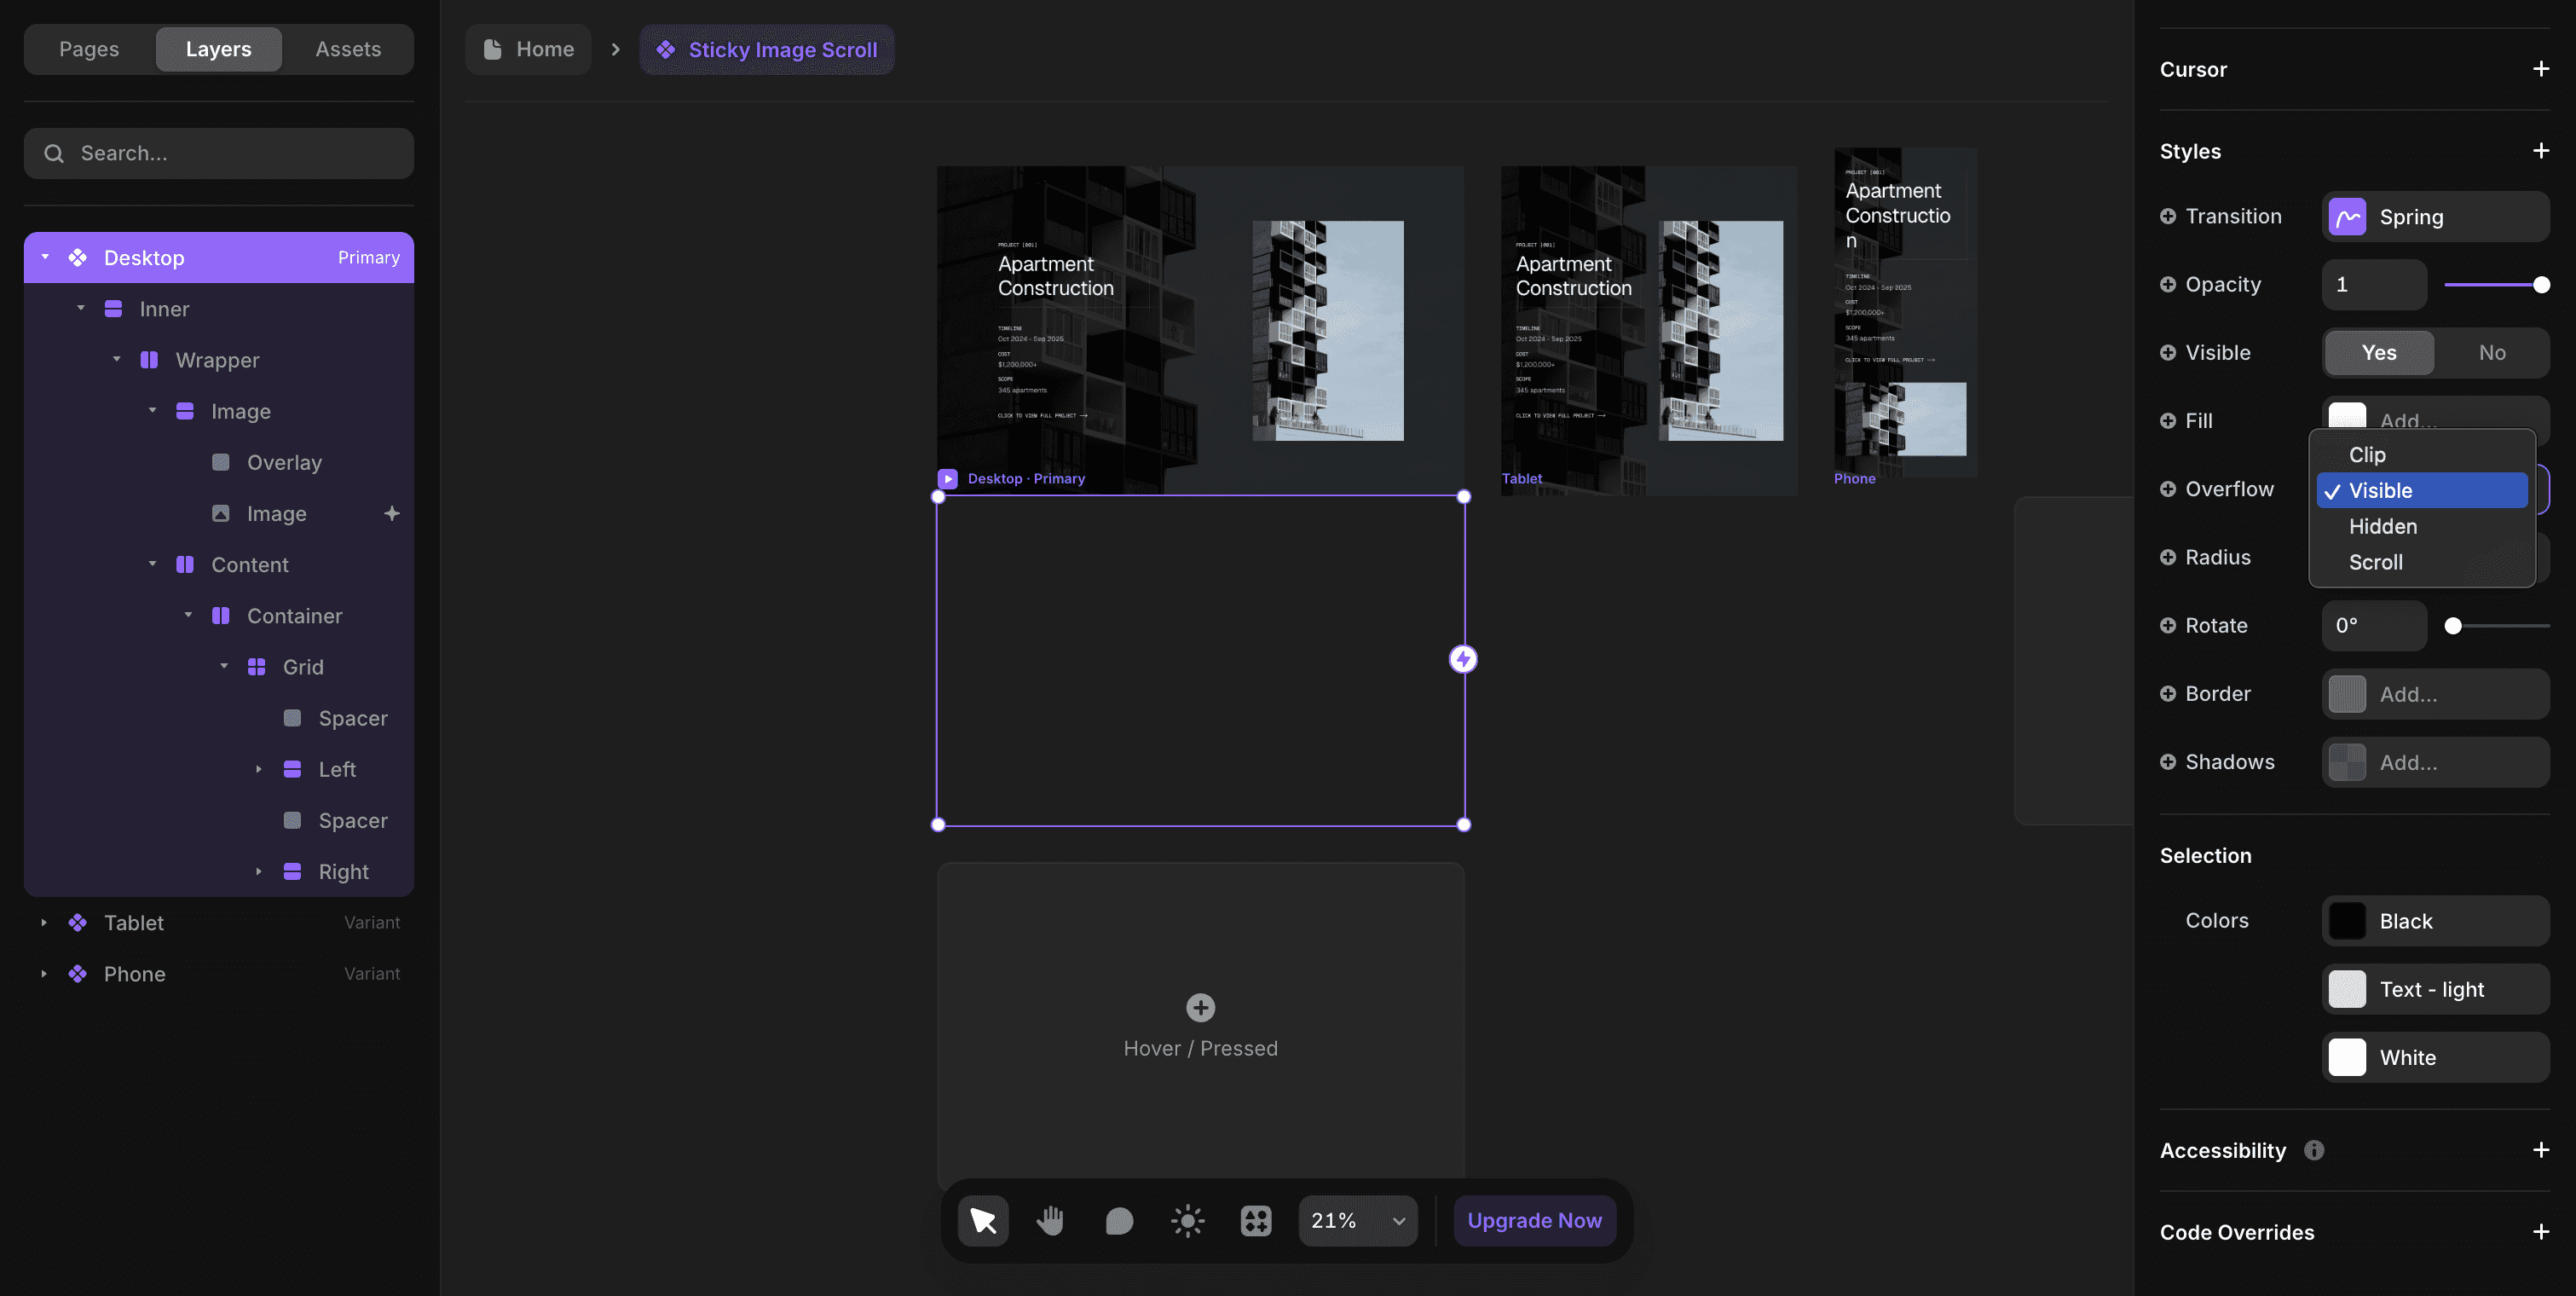
Click on the "Sticky Image Scroll" component to open it in the component editor.
Click on the top layer named "Desktop" and scroll down the right panel until you find the "Overflow" property.
Temporarily set Overflow to "Visible" so that you can see the layers of the project card and the elements you're editing.
Important: when you're finished editing, don't forget to set the Overflow of the top layer back to "Clip" otherwise the scroll animation won't work properly.